December 30, 2016

Honda CT70 Minitrail. 8" x 10" acrylics


I so wish I could justify buying a Honda Minitrail but they demand pretty high prices anymore.  Or, at least, the prices are more than I can spend.  If I could find one in need of restoration...I probably go for it.

Anyway, this project started out with a trip to Hobby Lobby and happening upon a plastic model kit of a CT70 (see below).  The model was super tempting...and even on clearance.  I held back though thinking I could put together a painting--perhaps even a sellable painting--instead.  Well, painting done.  The sellable part remains to be seen.  I did get a test print made through iPrintFromHome and was happy with the result.

8" x 10" acrylics on heavyweight acrylic paper.

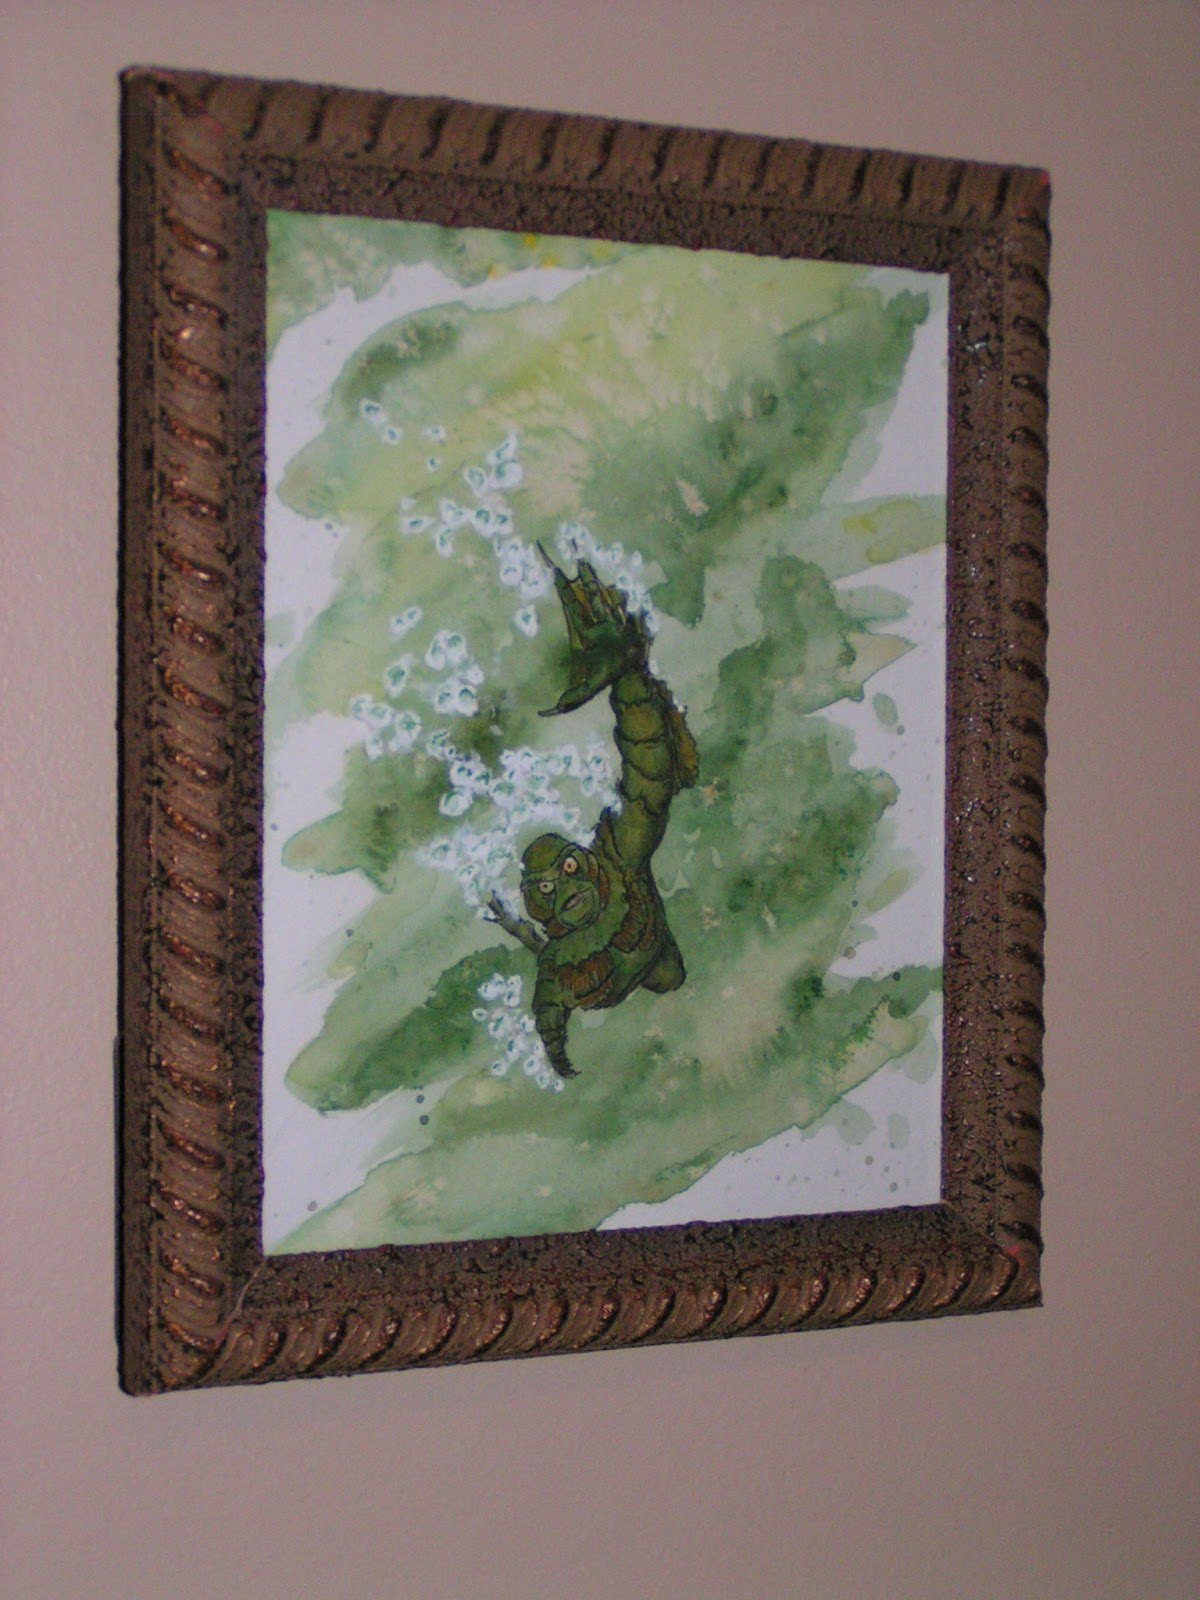
Creature from the Black Lagoon. 8" x 10" acrylics


I've always been a fan of The Creature from the Black Lagoon though I've only seen the movie once.  I'll have to give it another watch.  And werewolves.  I'm a fan of werewolves too.

This painting was a lot of fun and was a great way to spend the early mornings of my Christmas holiday.

8" x 10" acrylics on heavyweight acrylic paper

November 7, 2016

Blue around the gills. Bluegill in pine and aspen.


A follow up to the No Trout About It! Rainbow Trout Proof of Concept in Pine and Aspen post.  A second trout has been completed and I think that officially transitions it from Proof of Concept to Real Deal.  In addition to the trout, a bluegill has also joined the school.  These both went smoother as I tried to implement improvements from the Proof.  The biggest improvements came from:


  1. Just using a handheld jigsaw for the rough cuts.  Scroll saws are great but with the thickness of the board I was using, I frequently ended up with slanted saw blades and highly angled fish edges.
  2. A new router bit to make the edging faster, smoother, and easier.  It's still not the best blade but it's a huge jump. 


My first pass at painting the bluegill was awful.  Seriously terribly.  I had to sand the paint off and start over.  Ugh.  I do really like the way the final bluegill turned out though.  I'm glad I didn't give in and just toss the fish.

Bluegill mounting board is approximately 9" wide and 7" tall.
Trout mounting board is approximately 16" and 7.5" tall.

Mounting board made with Aspen.  Trout made with pine and finished with acrylic paint.  Both have a satin polyurethane coating.

And here's the latest trout...pretty much the same as the other one but facing the other direction (to get that knot in the wood where I liked it).


September 8, 2016

Mummy Trouble!

Have I mentioned I enjoy art that doesn't take itself too seriously?  This painting was a blast.  Creepy, barely-held-together mummies rank pretty high on the scale of things that are fun to draw.  Octopuses and ogres are also up there (Vases are not on the list).
  • To scale? Nope
  • Well researched? Hardly.Though I will admit to reading a tiny bit on pith helmets and period handguns. The one shown is intended to be a Lancaster Pistol from the mid to late 19th century. 
  • Includes Teddy Roosevelt?  Not a purpose but I like the look.

8x10 ink and acrylics on paper.


July 29, 2016

No Trout About It! Rainbow Trout Proof of Concept in Pine and Aspen

No trout about it*, I'm excited about this one.


This Rainbow Trout is closer to the project I had in mind when I started the Skull from before.  That was building up to this.

I went into this project with the expectation that I'd mess something--or several somethings--up.  Even that I might mess things up so badly that the whole thing had to be scrapped.  And, even if things went perfectly, I'd find something I wished I had done better.  With that in mind, my process was focused more on speed rather than a perfect implementation.  That's a difficult thing for me.  Anyway, the fish and mounting board look great from several feet away.  Up close, well...

I did learn from the experience and will do things differently on future projects:

  1. Take it easy with the scroll saw.  I ended up doing a lot of sanding anyway and some of the errant scroll saw (mis)cuts just created more work later.  I would've been better off leaving more margin and working my way into the final cut line instead of trying to follow it too closely with the saw.
  2. Get some new scroll saw blades and a new router bit.  The blades I had were hurting before I even started and they haven't gotten any better.  The router bit I had was a cheap one and burned the edge of the mounting board.  The dark stain covered this up pretty well but it looked ugly before.
  3. Leave some distressing on the fish.  I sanded the fish fairly well.  At least up to the point where I thought "It's just a proof of concept, enough already".  In the end, some of the leftover marks and scratches actually look good under the paint wash.
  4. Practice with the paint a bit more.  If I'd gone a little heavier on the water, the colors would've blended better.  The water soaked in really, really fast and there already isn't a lot of working time with acrylics.

Fish is approximately 16" long (a decent catch!) with the mounting board being around 19" x 7".

Mounting board made with Aspen.  Trout made with pine and finished with acrylic paint.  Both have a satin polyurethane coating.

*See Psych Season 7, Episode 14


July 14, 2016

Scroll Saw Fun: Pine Skull


This was a bit of an impromptu project.  I've been thinking I'd use the scroll saw to make some kind of wall hanging for some time (seriously, how many projects have I been thinking about for months/years?) but was always thinking it would be some kind of wildlife.  Stepping out to the garage, I found my stack of scrap wood was woefully lacking.  Fortunately, there was one piece that was clean (e.g. it hadn't already been used for test cuts, test drilling, wood burning, etc) and of the right proportions for a skull.


I won't say it's anatomically correct but it gets the point across.  I also toyed with the idea of giving it a yellow, Skeletor-esque wash but a) the skull wasn't evil looking enough for Skeletor, b) I had some dark stain purchased on clearance I was aching to try, and c) a friend on Facebook thought dark stain sounded good.


Pine.  Approximately 8" tall x 5" wide x 3/4" thick.

June 21, 2016

Freedom Academy Homeschool T-Shirt Design

We homeschool our kids and thought it would be fun to put together at least some kind of branding, if it can really be called that at all, for our school.  So, Freedom Academy was born!  The eagle mascot seemed a natural choice.

As dorky as it may be, there are benefits to having the family in matchy-matchy clothing.  The biggest benefit is being able to find each other in a crowd.  The original plan was to screen print some of our own shirts but I had used up my screen printing materials.  Then that plan turned into me experimenting with cutting out the design from foam sheets and trying to stamp it and that...failed miserably.  Finally, we went with the quick and easy printable iron-on sheets.  The results were good but not up to the same quality as screenprinting.  When we get to the point of needing additional shirts, I'll look into either printing them myself or starting up my own, small batch campaign at TeeSpring.com.  

The final shirts were our school colors of canary yellow with purple print.  B-O-L-D.  

Are there any other homeschoolers out there?  Have you done any school branding?  

Addition: In addition to checking out printing options next time, I'd also rework the design to incorporate more color.  I initially stuck with one color as that was the limit of my screenprinting ability.